


How-to | Element Mechanical Keyboard Build Guide

Thank you and congratulations on being the new owner of the Element Mechanical Keyboard! It's been a journey creating this boar and we're incredibly proud to bring it to market, and is just a taste of greater things to come.
Getting Started
Parts needed
- PCB
- PCB stabilizers
- Acoustic treatment pad
- Aluminum top case
- Aluminum bottom case
- Rubber isolation strips
- Various screws for securing the stabilizers and case
- Hardware for installing screws
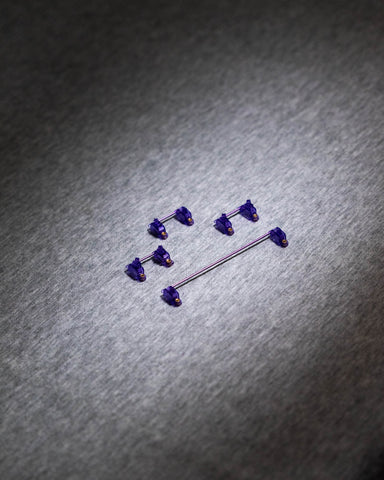
Begin the build by attaching the stabilizers to the PCB. Once attached the stabilizers will then need to be secured to the PCB with the provided screws.
 https://cdn.shopify.com/s/files/1/0273/7481/3319/files/DSC_1788.jpg?v=1679117088 https://cdn.shopify.com/s/files/1/0273/7481/3319/files/DSC_1788.jpg?v=1679117088
|
 |
In the following steps we will need the included hex screws to attach the plate to the top case, and later the bottom case to the top case.

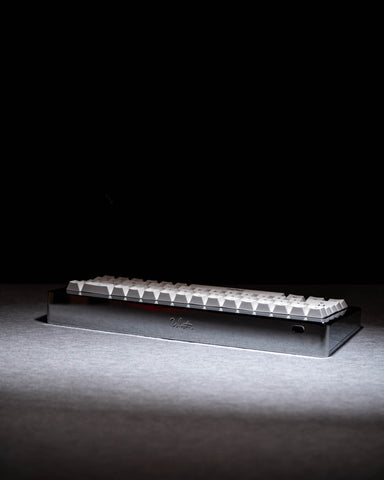
Attach your favourite switches to the plate followed by the PCB. Finally install the plate to the top case.
 |
 |
Peel away the non-stick back piece on the rubber isolation strips and install along the indents of the bottom case; try not to pull or stretch the rubber isolation strip as you are attaching the piece or it may not fit perfectly at the end. Next, should you choose to use the included acoustic treatment pad it can be secured to the topside of the bottom case.
 |
 |
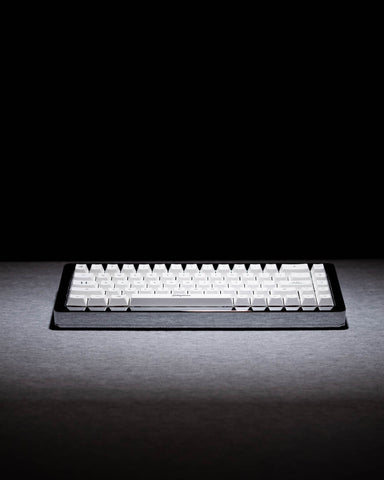
All done! All that's left is to show it off on Reddit or Instagram!
 |
 |
See you soon.
x
The WestM Team